Airveek field guide
Wall Art Print Clean Listing Product Photo Workflow
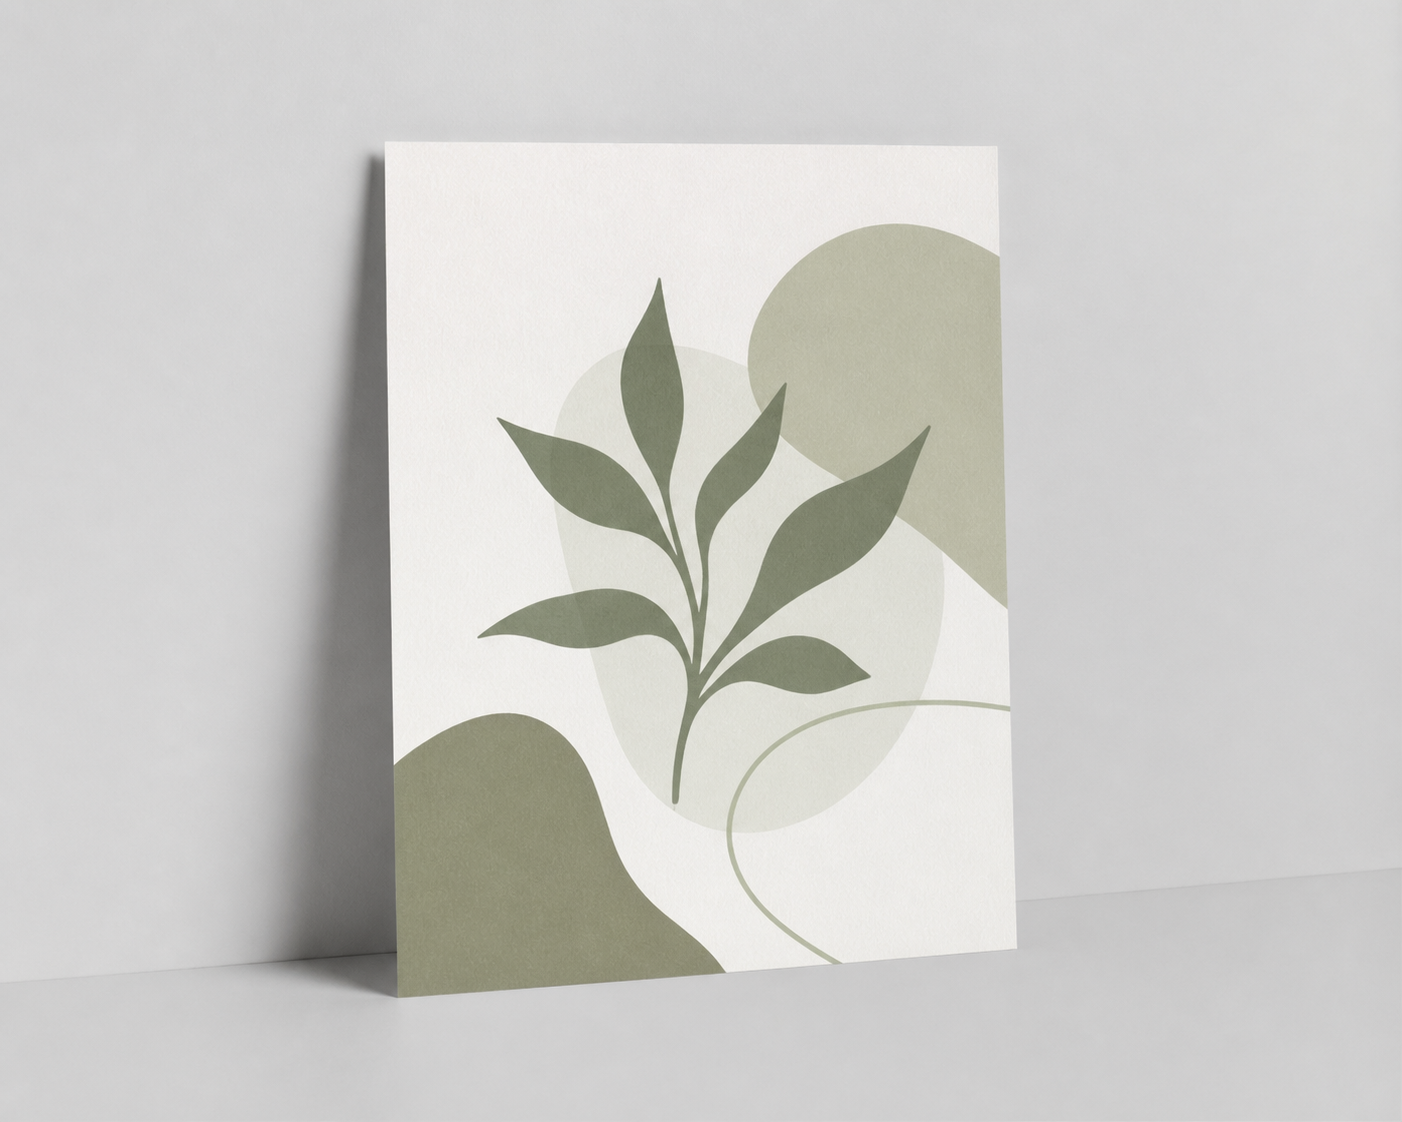
Use the supplied unframed wall print as the identity anchor, then choose Airveek's product-scene, studio, and store-listing settings for one product-first frame. Keep the full vertical artwork, paper edge, muted colors, blank margins, and proportions unchanged. Use broad soft side light on a neutral background, leave margin for a centered square crop, and inspect the result at full size and 240 x 240 before export. Add room scale and paper close-up as separate supporting jobs.
Search task: wall art print clean listing product photo
Written by LIKA
The buyer question
How do I create a clean listing image for this wall art print while keeping the product identity accurate?
Quick setup
- Goal
- Ecommerce marketplace main image and mobile product gallery
- Output
- 1:1 square listing composition, 1500x1500 target when supported by the destination, 240 x 240 mobile-thumbnail review, Largest useful master before destination-specific resizing
- Goal
- store-listing
- Mode
- product-scene
- Scene
- studio
Example Airveek result
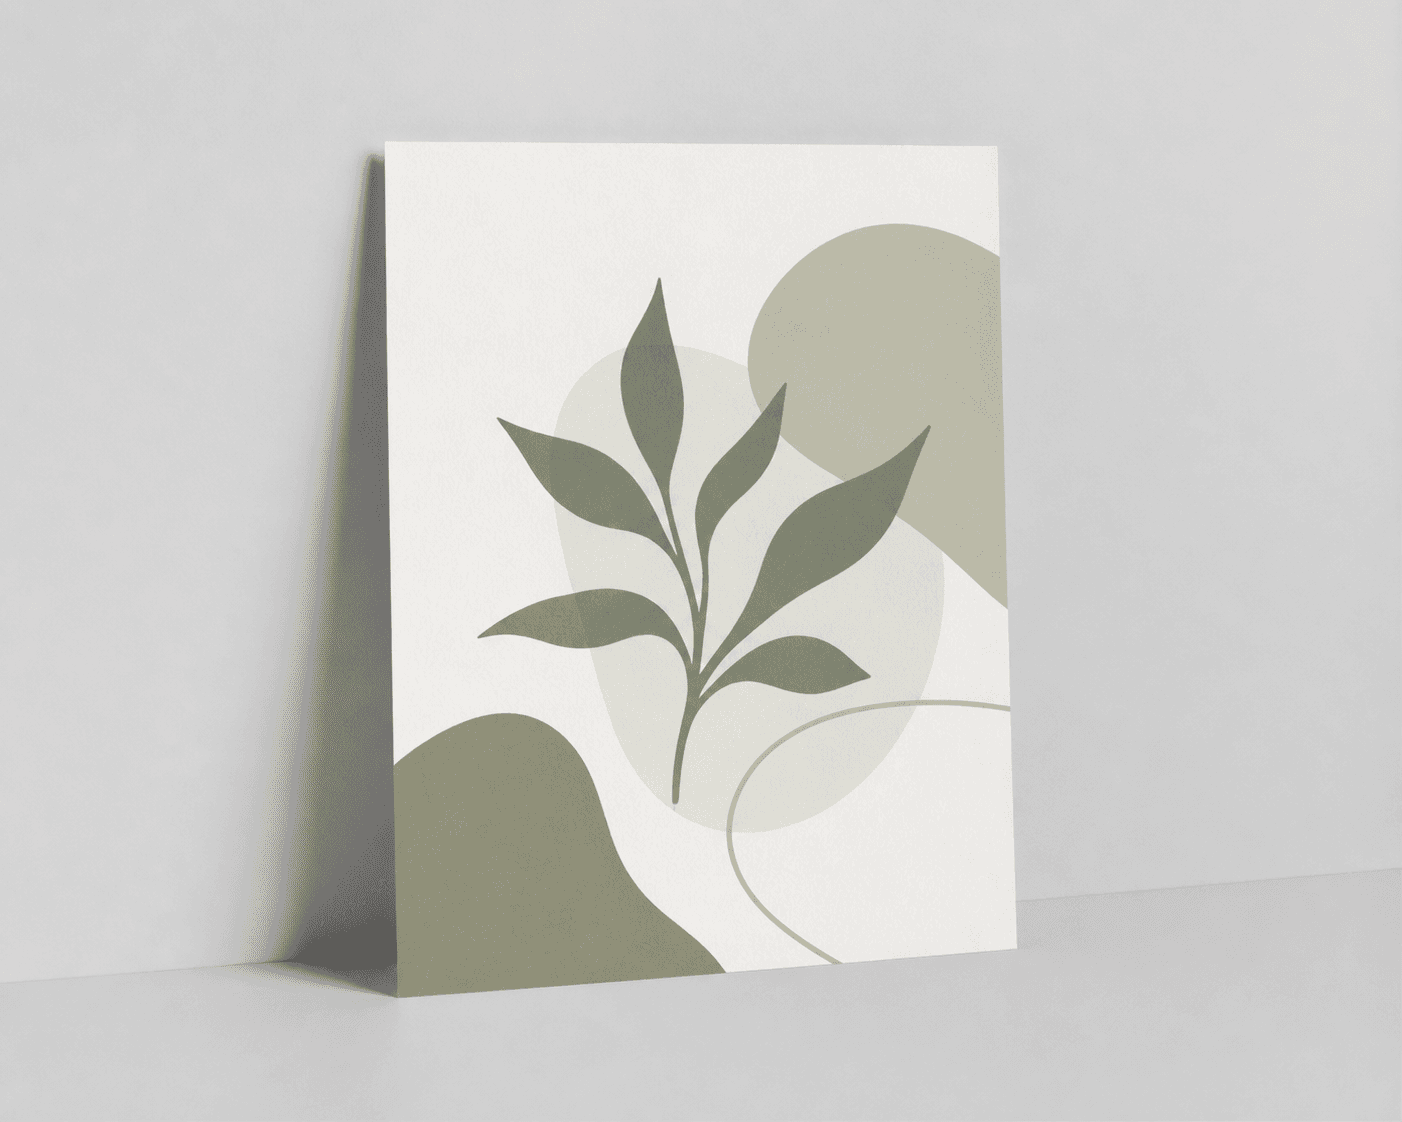

How to create it
1. Upload the print and logo references
Add the supplied wall-print image first and the supplied morrow logo reference second. Use the print to preserve the full vertical artwork, muted olive and cream palette, proportions, blank margins, paper surface, and visible edges. Keep the exact lowercase morrow wordmark and both sparkle stars from the supplied logo reference.
2. Choose the clean listing setup
In Airveek's product-fashion creator, select Mode: product-scene, Scene: studio, and Goal: store-listing. Keep this job focused on quick whole-print identification; use the lifestyle sibling for wall scale and the detail sibling for paper and edge inspection.
3. Lock the artwork and unframed form
Keep one complete print large and clear. Preserve the artwork, color balance, blank margins, proportions, paper surface, and visible left and lower edge. Keep the clean frame free of a frame, mat, hanger, second print, and room styling.
4. Light for paper and color clarity
Use broad diffused side light with gentle fill and a restrained contact shadow. Let the light reveal the paper surface and edge while keeping the muted olive and cream artwork close to the supplied reference. Keep reflections and hard cast shadows out of the artwork.
5. Apply the exact demo mark
When the fictional demo brand is shown, keep the supplied exact lowercase morrow wordmark and both sparkle stars together in the blank lower-right print margin or on a small package element. Keep the mark natural to the product and remove every other readable brand text or floating overlay.
6. Generate and inspect the listing frame
Run a fresh listing job from both supplied references. Compare the result with the source at full size, in a centered 1:1 crop, and at 240 x 240. Keep it only when the full artwork, proportions, paper edge, muted colors, unframed form, and supplied mark remain consistent; otherwise revise the prompt and rerun.
7. Export the largest useful file
Keep the largest useful export until the destination's current image, metadata, and variant requirements are confirmed. Use the clean print frame as the primary candidate, then add a room-scale image and paper-edge close-up as supporting gallery views rather than shrinking the main product.
Tested prompt
Use the supplied unframed decorative wall print reference and the supplied fictional morrow logo reference as the only inputs. Create one clean ecommerce listing photo for one unframed decorative wall print. Keep the exact vertical artwork, muted olive and cream palette, proportions, blank margins, paper surface, and visible left and lower edge unchanged. Show one complete print, front-facing or with only a slight three-quarter angle that still proves its flat unframed form. Use a quiet light-neutral studio background, soft broad side light, gentle fill, and a subtle contact shadow; keep the print crisp and product-dominant, aim for roughly 75% to 90% product fill, and leave enough margin for a centered 1:1 crop and a 240 x 240 mobile thumbnail. Apply only the supplied exact lowercase wordmark "morrow" with its two sparkle stars naturally in the blank lower-right print margin or on a small package element without covering the artwork. Do not add a frame, mat, hanger, room scene, extra prints, invented dimensions, paper stock, finish, art title, artist, print-process, durability, or other product claims, watermarks, retailer logos, borders, promotional overlays, or any other readable text.Recorded settings
- Goal
- store-listing
- Mode
- product-scene
- Scene
- studio
Common problems and fixes
Problem: The artwork changes color, proportions, or graphic shapes.
Fix: Re-upload the supplied print reference, repeat the exact artwork and muted-palette constraints, remove styling that competes with the print, and reject the changed result.
Problem: The print looks framed, matted, mounted, or hung.
Fix: Return to one flat unframed sheet on a quiet studio background, remove the frame, mat, hanger, and wall scene, and keep only the visible paper edge from the supplied reference.
Problem: The paper edge disappears or the square crop cuts off the artwork.
Fix: Pull back slightly, leave breathing room around the full print, and use softer side light that separates the edge from the background. Recheck the centered 1:1 and 240 x 240 crops.
Problem: Glare or a hard shadow shifts the paper color or hides the surface.
Fix: Use a larger diffused source and gentle fill, reduce the hot reflection, and compare the muted olive and cream areas against the supplied reference before keeping the frame.
Problem: The generated image adds other words, logos, or a floating mark.
Fix: Keep the supplied logo reference as the only brand input, preserve the exact lowercase morrow wordmark with both sparkle stars in the blank lower-right margin or a small package element, and remove all other readable text.
Problem: A room scene, furniture, or multiple prints takes over the listing image.
Fix: Move wall scale and decor to the separate lifestyle job, keep one complete print as the clean hero, and use the detail job for paper and edge inspection.
What to double-check
- The supplied reference visibly establishes one vertical unframed print, its abstract botanical artwork, muted olive and cream palette, proportions, blank margins, paper surface, and visible edges. It does not establish exact dimensions, paper stock, finish, frame inclusion, artist, title, print process, or durability.
- A clean listing frame can make the artwork and unframed form easy to identify. It cannot prove physical size, paper specifications, color accuracy under every display, print quality, or room-scale accuracy.
- No generated clean listing frame or room-scale lifestyle frame is selected here. Create and inspect those separate jobs before using them as primary or supporting product-gallery images.
- The reviewed Airveek detail example supports paper-edge and mark-placement checks, but a close detail crop cannot replace a complete listing frame or show true wall scale.
Why this works
A clean listing image answers the first question—what exactly is being sold—before room styling or close inspection compete for attention. Keeping the complete vertical artwork, muted palette, blank margins, paper edge, unframed form, and supplied mark aligned with the source protects product identity. Soft side light reveals the paper without glare, while square-safe framing and a small-thumbnail check keep the same proof visible in a product gallery. Wall scale and paper close-ups can then carry their own jobs.
Before you export
- Compare the result with the supplied reference: full vertical artwork, muted olive and cream colors, proportions, blank margins, paper surface, visible left and lower edge, and unframed form should remain consistent.
- Keep one complete print dominant and inside the square-safe crop, with enough margin for a centered 1:1 composition and a 240 x 240 mobile-thumbnail check.
- Aim for roughly 75% to 90% product fill when the destination supports that framing, and keep the largest useful export until current destination requirements are confirmed.
- Use broad diffused side light and gentle fill so the paper surface and edge read without glare, a hard shadow, or a color cast that changes the muted artwork.
- Keep frames, mats, hangers, extra prints, room styling, and wall-scale context out of the clean listing frame; use the linked lifestyle job for context.
- Verify physical size, paper stock, finish, frame inclusion, artist, print process, and durability from product information rather than from the image.
Common questions
What should the main wall art print listing image show?
Show one complete unframed print large enough to identify quickly, with the full artwork, proportions, blank margins, and visible paper edge readable. Keep the background quiet and the light soft so the print stays the hero. Use a separate room-wall image for scale and a close-up for paper detail.
Should the main image show the print on a wall?
For this clean listing job, start with the complete print on a quiet studio background so the artwork and unframed form are easy to identify. Add a separate wall scene to show believable room context and apparent scale. Keeping those jobs separate prevents furniture or a distant crop from shrinking the product hero.
How can I show the paper edge without weakening the listing photo?
Keep the complete print and its edge visible in the clean frame, then use a separate close-up to enlarge the paper surface and side edge. Broad diffused side light with gentle fill can describe the edge without a bright reflection or a shadow that changes the artwork's perceived color.
Can a wall art photo prove the print's size or paper finish?
No. The image can show visible proportions, artwork, edge, and surface appearance, but it cannot establish exact dimensions, paper stock, finish, frame inclusion, print process, or durability. Use verified product information for those details and use a room-scale image only as visual context, not as a measurement.
Where should the fictional morrow mark appear?
Use the supplied logo reference as the only brand input. Keep the exact lowercase morrow wordmark and both sparkle stars together, placing them naturally in the blank lower-right print margin or on a small package element without covering the artwork. Do not turn the mark into a floating watermark or add other readable brand text.
Further reading
- Reviewed Airveek wall-print detail example — Airveek recorded workflow
- Image link [image_link] | Google Merchant Center Help — Google Merchant Center Help
- Lifestyle image link [lifestyle_image_link] | Google Merchant Center Help — Google Merchant Center Help
- Image SEO Best Practices — Google Search Central
- The Complete Guide to Ecommerce Photography — Shopify
- Tips for Beginner Sellers — Etsy Seller Handbook
- How to take good wall listing pictures — Reddit r/EtsySellers community discussion
- For wall art photos, best type of image to use for main listing photo? — Reddit r/EtsySellers community discussion
- Supplied generic wall-art reference — Airveek content reference
- Marketplace/category reference — Amazon marketplace reference