Airveek field guide
Wall Art Print Product Photography Guide: Plan a Complete Set
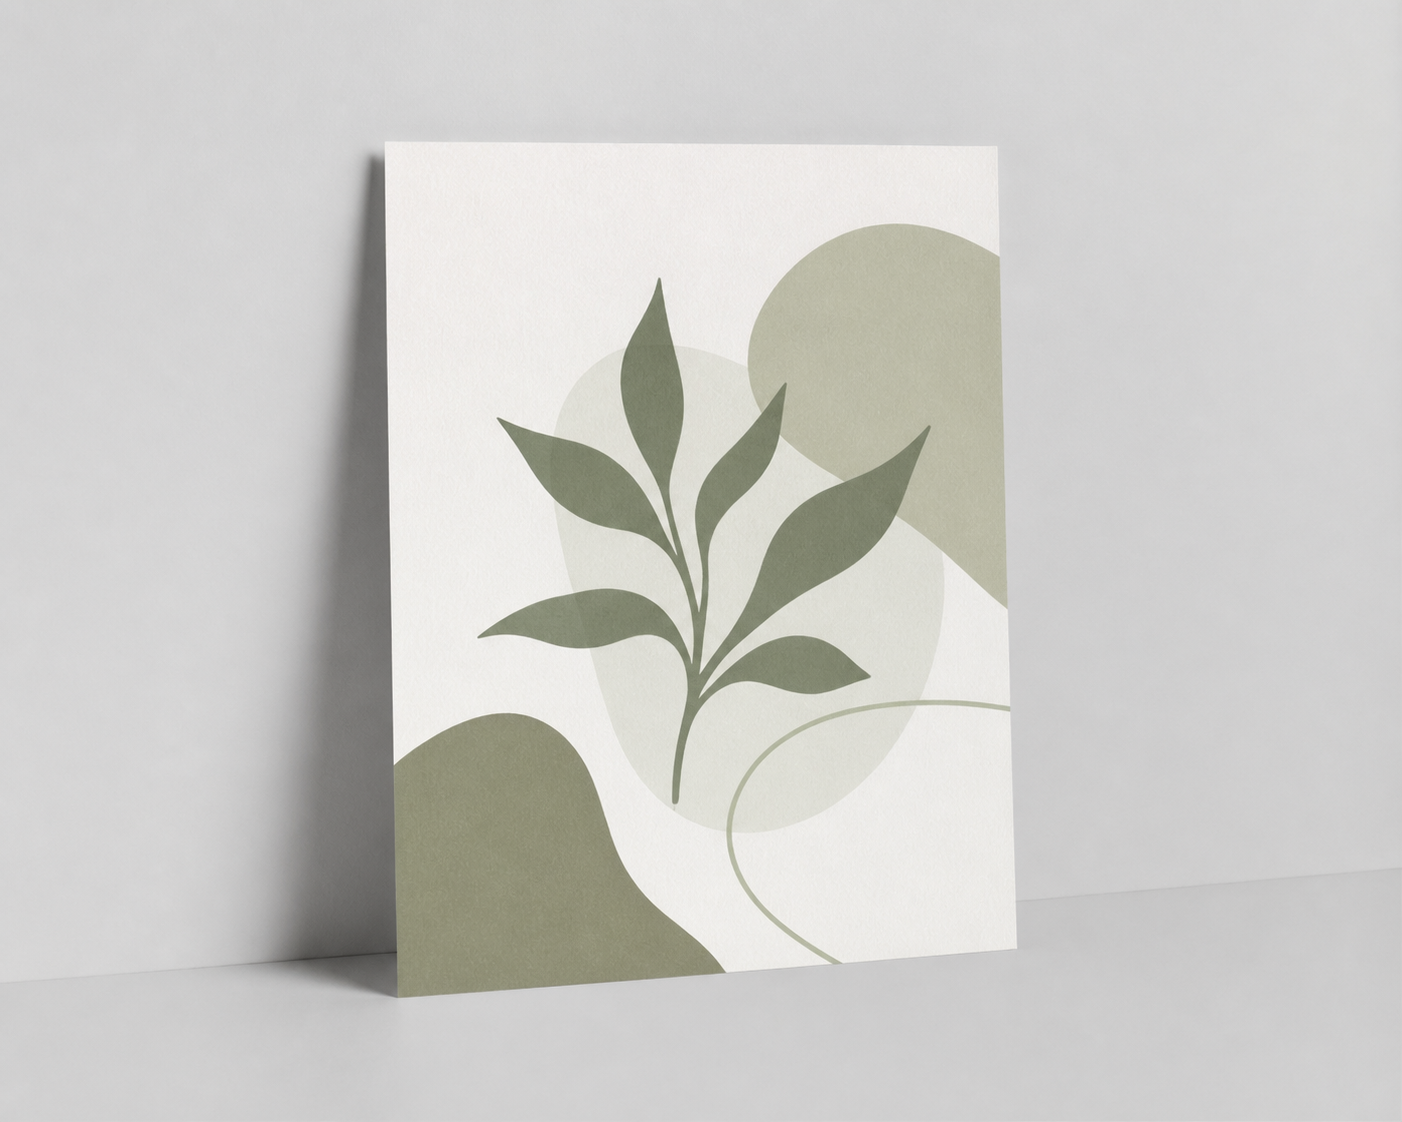
Start with the supplied wall art print as the identity anchor, then build three complementary Airveek views: a clean flat listing image for fast artwork recognition, a restrained room-wall scene for visual scale, and a close crop for the paper surface and edge. Keep the artwork, muted olive-and-cream palette, proportions, and lowercase morrow mark consistent; review the intended crop and mobile thumbnail before exporting.
Search task: How do I plan a complete product-photo set for this wall art print from one accurate source asset?
Written by LIKA
The buyer question
How do I plan a complete product-photo set for this wall art print from one accurate source asset?
Quick setup
- Goal
- Ecommerce product gallery with marketplace and social support
- Output
- 1:1 square-safe listing crop, 4:5 mobile-safe lifestyle crop, 1:1 square-safe paper and edge detail crop, 1500 × 1500 preferred square master when supported by the destination
- Goal
- store-listing
- Mode
- product-scene
- Scene
- studio
- Variations
- 1
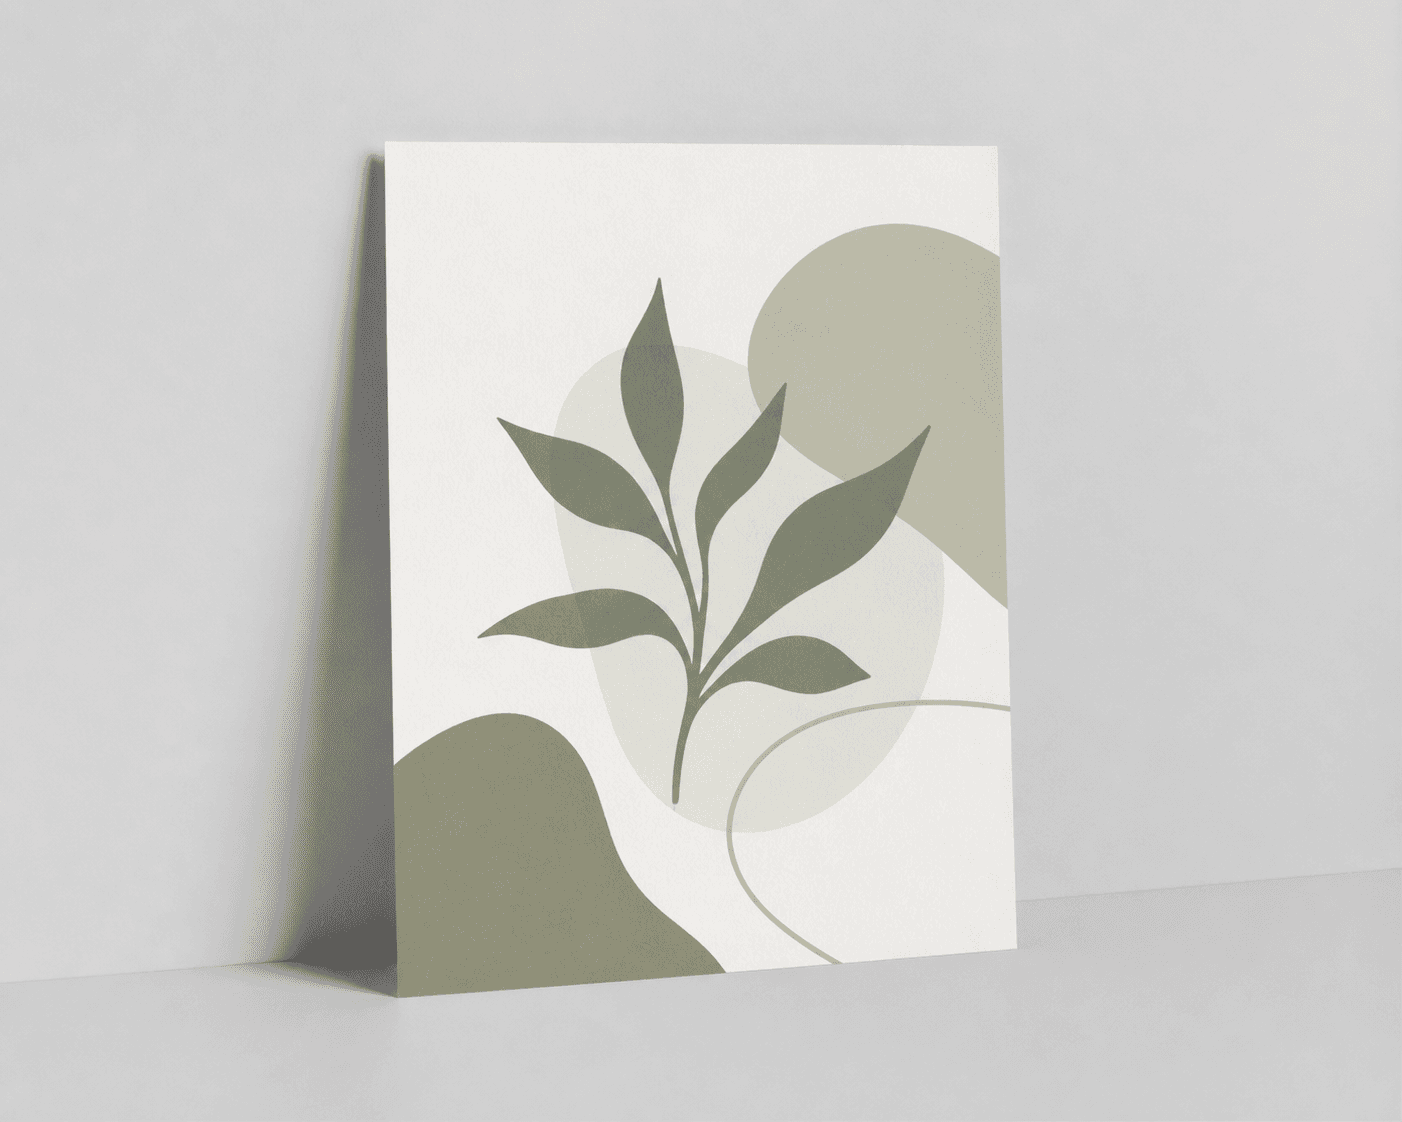
Example Airveek result

How to create it
1. Add the supplied references
Upload generic-wall-art.png as the identity reference and add public/images/morrow/morrow-logo.png as the second input for the fictional branded version. Use the print reference to preserve the muted olive-and-cream artwork, proportions, blank margins, unframed form, visible surface, and side edge. Use the logo reference only for the exact lowercase morrow wordmark and its two sparkle stars.
2. Set the Airveek product workflow
Open Airveek's product-fashion creator and use Mode: product-scene. The recorded detail baseline uses Scene: studio and Goal: store-listing; use that clean commercial starting point for the listing and detail jobs, then switch the lifestyle job to Scene: lifestyle and Goal: social-post. Keep the same product reference while changing only the job's composition.
3. Assign one buyer question to each view
Make the listing view answer what the print is and what artwork is being sold, the room-wall view answer how the print reads in a space and what its apparent scale feels like, and the detail view answer what the paper surface and side edge look like. This keeps the hub distinct from each linked sibling.
4. Build the clean listing view
Use a neutral commercial background, soft even light, and a complete unframed print as the single hero. Keep the artwork and visible edge sharp, remove frames, mats, hangers, extra prints, props, and overlays, and leave safe margin for a square crop that still reads at 240 × 240.
5. Add room context for scale
Use a simple wall scene with one familiar scale cue, such as a restrained shelf or sofa edge, while keeping the print dominant and unobscured. Keep the artwork large enough for a mobile crop. Treat the room as visual context, not as proof of exact dimensions.
6. Reserve the close view for paper and edge
Move closer for the category-specific detail job. Use controlled side light with gentle fill so the paper surface and side edge are visible without glare, a hard shadow, or a color cast. Keep enough of the artwork in frame to show that the crop belongs to the same print.
7. Review the set before export
Compare every result with the supplied print reference at full size, in the intended crop, and at 240 × 240. Confirm the same artwork, muted olive-and-cream palette, proportions, unframed form, paper edge, and brand treatment. Keep exact dimensions and paper specifications in verified product information, and export from the largest clean master rather than enlarging a thumbnail.
Tested prompt
Use the supplied unframed decorative wall print reference and the supplied fictional morrow logo reference as the only inputs. Plan a coordinated three-image product-photo set for the same wall art print: one clean listing view on a neutral commercial background for artwork and product identification, one believable room-wall view for visual scale and use, and one close ecommerce detail view for the paper surface and side edge. Preserve the exact artwork, muted olive-and-cream colors, proportions, blank margins, unframed form, and visible material details. When the brand appears, use only the exact lowercase wordmark "morrow" with its two sparkle stars, naturally placed on the product or package. Keep the print dominant, crop-safe, and sharp at mobile size. Do not invent dimensions, paper stock, finish, frame inclusion, artist, print process, durability, other readable text, claims, extra products, watermarks, retailer logos, or promotional overlays.Recorded settings
- Goal
- store-listing
- Mode
- product-scene
- Scene
- studio
- Variations
- 1
Common problems and fixes
Problem: The artwork changes color, proportions, graphic shapes, or blank margins.
Fix: Re-add the supplied print reference, restate the exact artwork, muted olive-and-cream palette, proportions, blank margins, and unframed form, then compare the output beside the source before selecting it.
Problem: The room view makes the print too small to read or hides it behind decor.
Fix: Reduce the room styling, keep one restrained scale cue, move closer while preserving the whole print, and retest the intended crop and 240 × 240 thumbnail.
Problem: The paper edge disappears or glare changes the perceived artwork color.
Fix: Use broader diffused side light with gentle fill, remove bright reflections and colored surfaces, and reserve the close job for the paper and edge rather than shrinking that proof into a collage.
Problem: The print looks framed, matted, mounted, or hung in the clean listing view.
Fix: Return to one flat unframed sheet on a quiet studio background, remove frames, mats, hangers, and wall styling, and move context to the separate lifestyle job.
Problem: The mark is distorted or extra words appear.
Fix: Re-add the supplied logo reference, preserve the exact lowercase morrow wordmark with both sparkle stars together, and remove every other readable word, floating mark, watermark, or retailer treatment before export.
Problem: The image implies exact size, paper stock, finish, or durability.
Fix: Remove rulers, badges, callouts, and invented claims. Use the image for visible identity and surface appearance, and use verified product information for exact specifications.
What to double-check
- The supplied reference establishes visible artwork, muted olive-and-cream color, proportions, blank margins, unframed form, paper surface, and side edge. It does not establish exact dimensions, paper stock, finish, frame inclusion, artist, print process, or durability.
- A room-wall image can provide apparent scale and context, but it cannot prove exact measurements. Use verified product information for dimensions and other specifications.
- A close crop can show visible surface and edge appearance, but it cannot prove paper composition, archival performance, coating, texture beyond what is visible, or durability.
- The available recorded example is a detail workflow. Create and review the clean listing and room-scale lifestyle jobs separately before using them as gallery assets.
Why this works
A wall art print is easier to judge when each image answers one question quickly. The clean listing view establishes the exact artwork and unframed product, the room-wall view adds believable context and apparent scale, and the close view enlarges the visible paper surface and side edge. Reusing one identity reference keeps the set coherent while separate crops protect the detail shoppers need to inspect.
Before you export
- Compare every result with the supplied wall-print reference and preserve the exact artwork, muted olive-and-cream palette, proportions, blank margins, and unframed form.
- Keep the complete print dominant in the listing view, with a quiet neutral background and enough safe margin for a square crop and 240 × 240 mobile check.
- Use one restrained wall or room cue for apparent scale, while keeping the print unobscured and avoiding an exact-size implication.
- Use broad diffused side light with gentle fill for the paper and side-edge detail so glare, hard shadows, and color casts do not hide the proof.
- When branding is shown, use only the supplied exact lowercase morrow wordmark with both sparkle stars together and no other readable brand text.
- Review the full-size image, intended crop, and 240 × 240 mobile thumbnail before export; keep the largest clean master and never enlarge a thumbnail.
- Verify exact dimensions, paper stock, finish, frame inclusion, print process, artist, and durability from product information rather than from the image.
Common questions
What belongs in a complete wall art print product-photo set?
Use three complementary views: a clean whole-print listing image for fast artwork and product identification, a restrained room-wall image for context and apparent scale, and a close detail image for the visible paper surface and side edge. Each view should answer a different shopper question instead of repeating the same crop.
Should the first wall art image show the print on a wall?
For the clean listing role, start with the complete unframed print on a quiet studio background so the artwork, proportions, and paper edge are easy to identify. Add a separate wall scene for believable context and apparent scale. Keeping the two roles separate prevents furniture, a distant camera, or a busy room from shrinking the product hero.
How can I show wall art scale without inventing dimensions?
Use a simple wall scene with one familiar room cue, such as a restrained shelf or sofa edge, to give the print apparent scale while keeping the art dominant. Treat that view as visual context, not a measurement. Put exact dimensions and size options in verified product information.
Can a close-up prove the print's paper stock or finish?
A close-up can show the visible surface appearance and side edge of this print, but it cannot establish paper composition, coating, archival performance, or durability. Use broad diffused side light with gentle fill for a readable detail image, then use verified product information for exact material and finish claims.
How should the fictional morrow mark appear in the product photos?
Use the supplied logo reference as the only brand input. Keep the exact lowercase morrow wordmark and both sparkle stars together, place the mark naturally on the product or package, and do not add other readable brand text, floating marks, watermarks, or retailer logos.
Further reading
- Reviewed Airveek wall-print detail example — Airveek recorded workflow
- Image link [image_link] — Google Merchant Center Help
- The Complete Guide to Ecommerce Photography — Shopify
- Image SEO Best Practices — Google Search Central
- Tips for Beginner Sellers — Etsy Seller Handbook
- 7 Essential Types of Product Photos — Etsy Seller Handbook
- How to take good wall listing pictures — Reddit r/EtsySellers community discussion
- Started an Etsy shop selling my own photography, few things I've figured out so far + some questions — Reddit r/EtsySellers community discussion
- Airveek: All-in-One AI Image Generator — Airveek
- Supplied generic wall-art reference — Airveek content reference
- Marketplace/category reference — Amazon marketplace reference