

Airveek field guide
Desk Lamp Product Photography: Complete Airveek Workflow
Start with one accurate adjustable warm-light desk lamp reference, then run three separate Airveek jobs: a clean listing frame for the full silhouette, a believable desk scene for scale and light direction, and a close detail for hinges and controls. Keep the round base, shade, stem, joints, and visible control area consistent, and check every crop at full size and 240 × 240.
Search task: desk lamp product photography guide
Written by LIKA
The buyer question
How do I plan a complete product-photo set for this desk lamp from one accurate source asset?
Quick setup
- Goal
- Ecommerce product-photo set and mobile product-gallery crops
- Output
- 1:1 square listing crop, 1:1 square lifestyle crop, 1:1 square detail crop, 240 × 240 mobile-thumbnail check, Largest available export before destination-specific resizing
- detail job
- Mode: product-scene · Scene: studio · Goal: store-listing
- listing job
- Mode: product-scene · Scene: studio · Goal: store-listing
- lifestyle job
- Mode: product-scene · Scene: lifestyle · Goal: social-post
- recorded starting setup
- Mode: product-scene · Scene: studio · Goal: store-listing
Example Airveek result
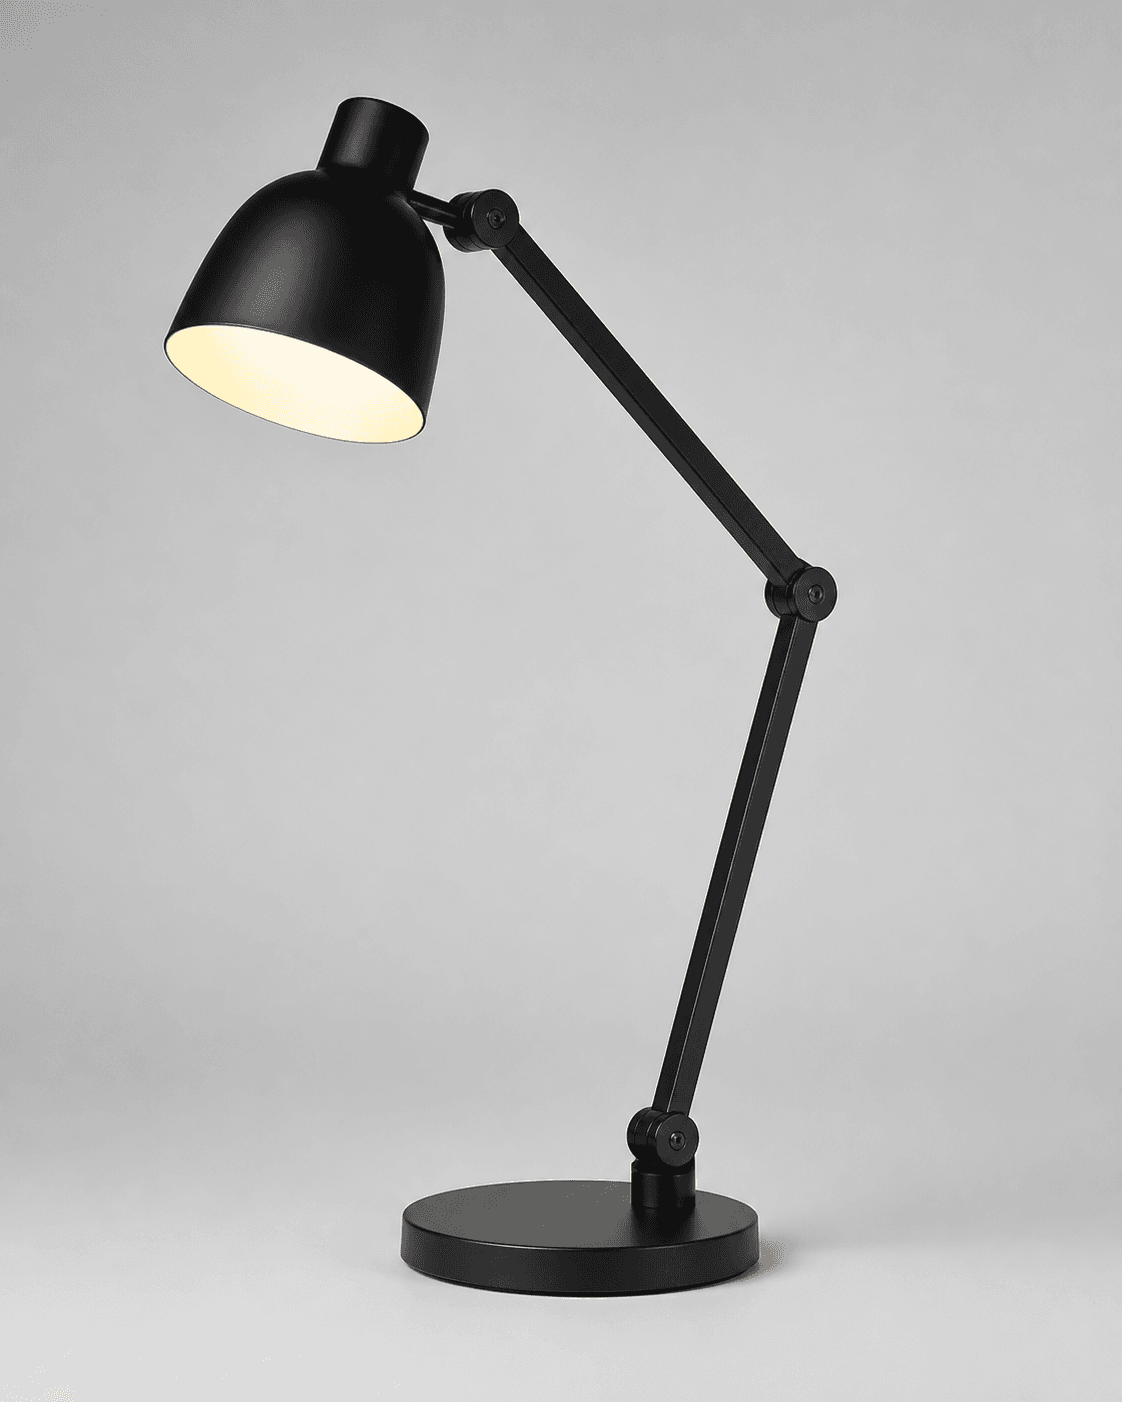
How to create it
1. Set the three buyer jobs
Plan one clean listing frame for the full lamp, one lifestyle frame for desk context, light direction, and relative scale, and one close detail frame for the hinge joints and visible control area. This keeps the complete set useful instead of making three near-duplicates.
2. Add the same two references
Use the accurate adjustable desk-lamp source for every job. When the demo brand is shown, add the supplied logo reference as the second input and preserve the exact lowercase morrow wordmark with its two sparkle stars; do not invent another mark or readable brand copy.
3. Run the clean listing job
In Airveek's product-fashion creator, use Mode: product-scene, Scene: studio, and Goal: store-listing—the recorded ECO10 setup uses these controls. Keep the whole black lamp, round base, stem sections, hinge joints, shade, warm-lit interior, and visible control area easy to identify against a restrained background.
4. Run the working-desk lifestyle job
Run a separate job with Mode: product-scene, Scene: lifestyle, and Goal: social-post. Add a quiet desk plane and one scale cue, then aim the shade toward a small warm pool on the desk. Use soft side light or fill to separate the black body and hinges without hiding the base, control area, or light path.
5. Run the hinge-and-control detail job
Run a third job with Mode: product-scene, Scene: studio, and Goal: store-listing. Move closer until the hinge joints, stem connection, shade edge, and visible control area are easy to inspect, while keeping enough geometry to confirm the detail belongs to the same lamp.
6. Compare the set before export
Review all three results against the lamp source at full size and at a 240 × 240 mobile thumbnail. Check the silhouette, black color, round base, stem sections, hinge joints, shade edge, warm-lit interior, control area, exact morrow mark, crop, and readable text before selecting any output.
7. Export for the destination
Keep the listing, lifestyle, and detail files separate, preserve a square-safe crop for each, and keep the largest available export until the destination's current image requirements are confirmed. Use descriptive alt text that names the visible lamp and context naturally.
Tested prompt
Use the supplied adjustable warm-light desk-lamp reference for every job and the supplied demo-brand logo reference when branding is required. Keep the exact black articulated silhouette, round base, two long stem sections, three visible hinge joints, rounded shade, warm-lit interior, and visible control area unchanged. Use the exact lowercase wordmark "morrow" with its two sparkle stars as the only brand mark. Create a coherent three-image set: a clean full-product listing, a believable working-desk lifestyle frame that shows light direction and relative scale, and a close hinge-and-control detail frame. Keep the lamp dominant, leave a square-safe crop, and add no other readable text, claims, extra products, retailer marks, watermarks, or overlays.Recorded settings
- detail job
- Mode: product-scene · Scene: studio · Goal: store-listing
- listing job
- Mode: product-scene · Scene: studio · Goal: store-listing
- lifestyle job
- Mode: product-scene · Scene: lifestyle · Goal: social-post
- recorded starting setup
- Mode: product-scene · Scene: studio · Goal: store-listing
Common problems and fixes
Problem: The lamp glows brightly but the black body, shade edge, or base disappears.
Fix: Reduce the visual intensity of the glow, add soft fill or side light to the lamp body, and recheck the shade edge, hinge joints, control area, and base at thumbnail size.
Problem: The desk scene becomes more noticeable than the lamp and still gives weak scale information.
Fix: Remove decorative objects, keep one quiet desk plane or scale cue, enlarge the lamp within the frame, and preserve the full base-to-shade relationship.
Problem: The detail crop hides a hinge, control area, or shade edge.
Fix: Pull back slightly, keep the proof areas away from crop edges and shadows, and use controlled commercial light before tightening the frame again.
Problem: The three results drift in shape, color, or brand mark.
Fix: Reuse the same lamp source and supplied logo reference in each job, repeat the exact lowercase morrow and two-sparkle instruction, and reject any output with altered geometry or added readable copy.
What to double-check
- The available starting recording demonstrates the product-scene studio route and saves square variations; create the listing, lifestyle, and detail outputs separately before presenting the pack as complete.
- Use the clean listing frame for fast product identification, the lifestyle frame for desk context and relative scale, and the detail frame for hinge and control inspection. Check the destination's current image requirements before upload.
Why this works
A complete desk-lamp set works when each image answers a different shopper question. The listing frame establishes the full silhouette, the lifestyle frame shows where the light goes and gives context for scale, and the detail frame enlarges the hinge and control area. Keeping one source and one brand reference stable across separate jobs makes the set easier to compare, crop, and correct.
Before you export
- Use the same accurate desk-lamp source in all three jobs and compare every result against it.
- Keep the black articulated silhouette, round base, two stem sections, three hinge joints, shade edge, warm-lit interior, visible control area, materials, and color consistent.
- Give the listing, lifestyle, and detail images separate jobs so one crop does not have to prove everything.
- Use a restrained desk scene and one quiet scale cue; keep the lamp dominant, the light path visible, and the base and controls unobscured.
- Use controlled light in the detail frame so hinge joints, stem connection, shade edge, and control area remain readable.
- When branding is shown, use the supplied exact lowercase morrow wordmark with both sparkle stars and no other readable brand copy.
- Review each result at full size and at a 240 × 240 mobile thumbnail before choosing a final crop.
Common questions
Why create listing, lifestyle, and detail photos instead of one desk-lamp image?
They answer different shopper questions. The listing frame identifies the complete lamp, the lifestyle frame adds desk context and relative scale, and the detail frame makes the hinge joints and control area easier to inspect. Separate jobs also keep props and close crops from covering the parts a shopper needs to see.
How do I show a desk lamp turned on without losing product detail?
Treat the glow as a directional cue, not the whole image. Keep the shade edge and lamp body exposed, use soft side light or fill to retain the hinges and base, and check the brightest area at small size. Creator discussions describe this as a glow-versus-body exposure problem; it is lighting guidance, not a specification for this lamp.
What should a desk-lamp detail product photo show?
Make the hinge joints, stem connection, shade edge, and visible control area the proof points. Use a close three-quarter crop with controlled light, but keep enough surrounding geometry to confirm the detail belongs to the same lamp. Leave desk context and scale cues to the separate lifestyle frame.
Can a product photo prove the lamp's brightness or exact size?
No. A photo can show visible shape, light direction, context, and relative scale cues. Keep brightness, wattage, color temperature, dimensions, adjustment range, electrical claims, and included parts tied to the actual product information rather than inferring them from the image.
Further reading
- Image link [image_link] - Google Merchant Center Help — Google Merchant Center Help
- The Complete Guide to Ecommerce Photography — Shopify
- Image SEO Best Practices — Google Search Central
- How to photograph a light source, turned on? (table lamp) — Reddit r/productphotography community discussion
- Airveek: All-in-One AI Image Generator — Airveek
- Marketplace/category reference — Amazon marketplace reference